Method 04

Shitaji — building the ground

Layer, cure, flatten, repeat.

Shitaji is the sequence of ground-building operations that transforms a bare wooden substrate (kiji) into a smooth, stable, sealed surface ready to receive the decorative and final lacquer coats. It sits between the initial wood preparation and the naka-nuri (middle coats), and typically involves cloth reinforcement, one or more coats of clay- or shell-powder-and-lacquer paste, and a sealing coat of raw lacquer, with curing and abrasion between every layer. The work is physically demanding, iterative, and unforgiving of shortcuts: each coat must be fully cured and levelled before the next is laid, or the entire build must be stripped and started again.

Before this: A finished kiji (bare wooden substrate) with all joinery, shaping, and edge work complete · Access to a humidity-controlled curing cabinet (furo / chiljang / chichang) maintained at high temperature and high humidity · Basic hand tools: hera (spatula), sanding block or abrasive paper, a sharp knife, and a mixing palette · Familiarity with handling raw urushi safely (see safety notes)

Read the handbook chapter
Safety gate

This procedure involves direct contact with uncured urushi, which is a potent skin sensitiser with a delayed reaction. Work gloved, keep it off skin, and read the safety chapter before starting. Read Safety First before you begin.
Raw urushi (ki-urushi) is a serious skin sensitiser. Contact can cause a delayed allergic reaction (urushiol dermatitis) that may not appear for 12–72 hours and can be severe. Wear nitrile or latex gloves for every step involving raw lacquer, and avoid any skin contact. If contact occurs, wash the area immediately with alcohol or a dedicated urushi cleaner, then with soap and water. Do not rely on
The curing cabinet (furo / chiljang) operates at elevated temperature and humidity. Ensure the cabinet is properly ventilated and that the door is not opened repeatedly during the cure, as the lacquer vapour in a warm, humid enclosed space is more concentrated.
When sanding cured lacquer and ground paste, fine particulate can become airborne. Work in a well-ventilated area and wear a dust mask, particularly when sanding clay- or shell-powder grounds.

Tools

  • Hera (spatula)— Held at a low angle to the surface; used to scrape and press cloth and ground paste firmly into the substrate. The primary tool for every spreading and pressing action.
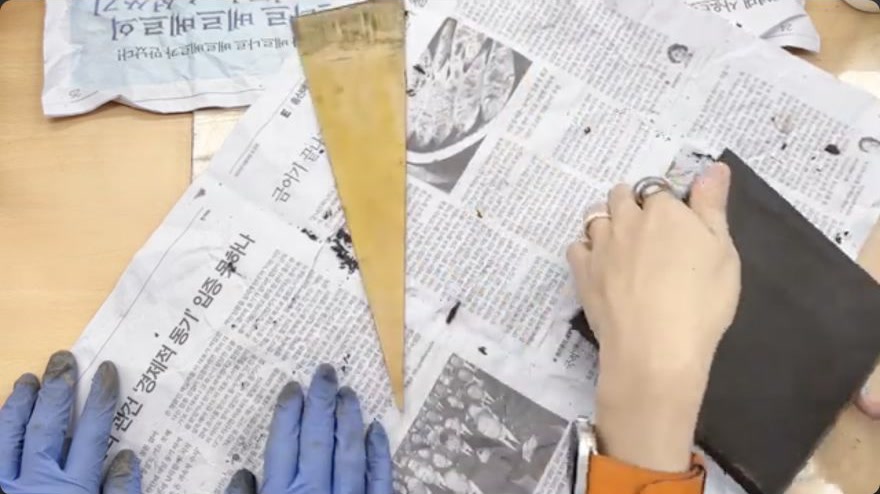
  • Sanding block or abrasive paper (two grades)— Used for light, even sanding between coats. Held flat; never press hard enough to cut through the cloth or into the wood.
  • Sharp knife— For trimming excess cloth and lacquer after curing, and for lifting masking film in repair work.
  • Curing cabinet (furo / chiljang / chichang)— Maintained at high temperature and high humidity. Must be properly conditioned before the piece is placed inside; an unconditioned cabinet will cause cracking or poor adhesion.
  • Cloth or cotton-wool ball— For the final polishing pass with kikumo and for rubbing in the sealing lacquer (suri-urushi).
  • Palette— A small flat surface to hold a working quantity of lacquer during the rubbing-in step.

Materials

  • ki-urushi (raw unrefined lacquer)— Used as the binder in every ground paste and as the sealing coat. Work in small batches; it is a potent skin sensitiser.
  • Glutinous rice paste (hochil / nori)— Mixed with lacquer to form the cloth adhesive. Both components are costly; mix only what will be used in one session.
  • Hemp cloth (or equivalent fine woven cloth)— Cut to size for the vessel's faces and corners. Used for nunokise reinforcement.
  • Fine clay or shell powder (jinoko / tonoko / hofun / tobun)— The aggregate in the ground paste. Korean workshops use hofun (oyster-shell powder) or fine yellow clay; Japanese workshops use jinoko or tonoko; kintsugi work uses fine ceramic powder.
  • Animal glue (ajiao)— An alternative binder to lacquer in some Korean sabi mixes, particularly for practice grounds.
  • Sanding paper / sanding block— Two grades are typical: a coarser sheet for initial levelling after cloth, a finer sheet for final smoothing between ground coats.
  • Kikumo (polishing compound)— Applied to a cloth for the final abrasion pass before the sealing lacquer is rubbed in.
  • Alcohol— Used to wipe residual oil from the polishing compound before the lacquer is applied.

The working sequence

9 steps, each traceable.

Each illustration is a frame taken from the source video at the moment cited, and checked against the step it accompanies. Where no frame passed that check, the step runs without one rather than carrying a misleading picture.

A method merged from several workshops is not a settled standard. 1 of the 5 workshops listed is not cited by any step. 4 further questions the sources leave unanswered are set out at the end.

01 Source · 2:58
No verified frame Open the source at the cited moment.

Sand the substrate to a flat, even surface

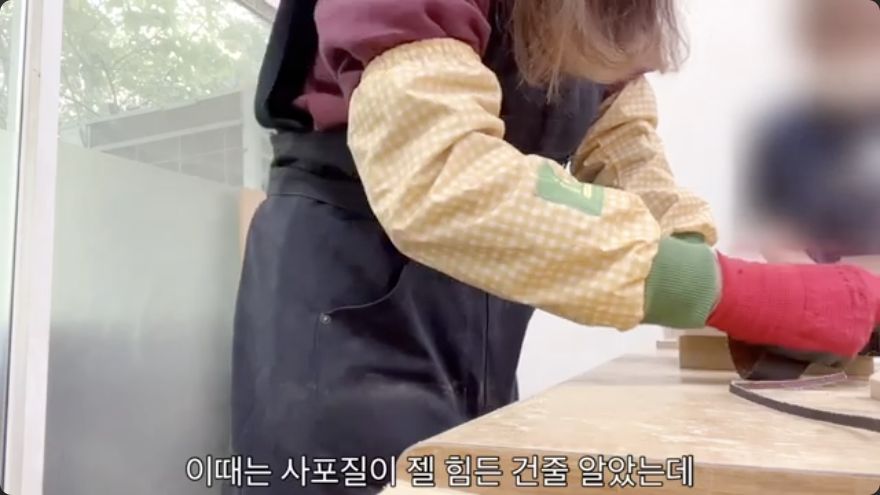
Before any adhesive or lacquer touches the wood, the kiji must be perfectly flat. Start with the edges: block each edge and sand it square and smooth, working around the full perimeter. Then move to the faces, using a sanding block held flat and moving in long, even strokes. The goal is to remove all tool marks, glue residue, and warping so that the surface reads as a single continuous plane. This is the most tedious step but the least technically difficult; it sets the geometric reference for every layer that follows.

When it is rightThe surface and all four edges are smooth, flat, and free of ridges or rough patches. Run a fingertip across the face: there should be no catch or variation in texture.

When it goes wrongRough spots or uneven edges left at this stage will telegraph through every subsequent coat and become visible in the finished piece. Recovery requires stripping back to the wood and re-sanding, which wastes all material already applied.

Workshops differ
  • The Korean workshop emphasises that a practice set of four MDF boards means sixteen edges to sand, and describes this as initially perceived as the hardest part but later recognised as the easiest compared to the lacquer work that follows.
02 Source · 0:52
No verified frame Open the source at the cited moment.

Mix the cloth adhesive and attach the cloth

On a palette, combine glutinous rice paste with a measured amount of ki-urushi and stir to a uniform, sticky, workable paste — this is the hochil (or nori-urushi in Japanese usage). Both components are expensive, so mix only the quantity needed for one pass. Cut the hemp cloth to size with a sharp knife, allowing a small margin beyond the vessel's edges. Spread a thin, even layer of the adhesive onto the vessel's faces and corners with the hera, then lay the cloth on top. Press and scrape the cloth down firmly with the hera held at a low angle, working from the centre outward to expel air and force the cloth into full contact with the wood. Corners and tight radii are the most difficult areas: work them slowly, re-scraping any lift or wrinkle immediately. If a wrinkle forms, it must be corrected before the adhesive sets; once set, it is permanent.

When it is rightThe cloth lies flat and smooth against the wood across the entire surface, with no visible wrinkles, bubbles, or gaps. The edges are trimmed or will be trimmed cleanly after curing.

When it goes wrongWrinkled cloth or poor adhesion at corners. If a wrinkle is caught early, lift the affected area, re-spread adhesive, and re-press. If the adhesive has already begun to set, the cloth must be peeled off and the area re-prepared.

Workshops differ
  • The Korean workshop uses glutinous rice paste mixed with lacquer (hochil) specifically for hemp cloth on a wooden core. The Japanese equivalent is nori-urushi (rice-paste-and-lacquer adhesive).
03 Source · 2:57
No verified frame Open the source at the cited moment.

Cure the cloth layer in the humidity cabinet

Place the cloth-wrapped vessel in the chiljang (Korean) or furo (Japanese) — a cabinet maintained at high temperature and high humidity. The cabinet must be properly conditioned before the piece goes in; an unconditioned or fluctuating cabinet will cause the lacquer in the adhesive to cure unevenly, leading to cracking or delamination. Leave the piece for the full cure period, typically overnight or until the following day. Do not open the cabinet repeatedly during this period, as temperature and humidity swings compromise the cure.

When it is rightThe adhesive and cloth are fully cured: the surface is hard to the touch, the cloth is locked in place, and there is no tackiness or softness anywhere on the piece.

When it goes wrongImproper curing conditions produce cracking in the adhesive layer or poor adhesion between cloth and wood. Cracked or delaminated areas must be sanded back, re-adhered, and re-cured, adding a full cycle of time.

Workshops differ
  • The Korean workshop specifies 'overnight or until the next day' in a properly conditioned chiljang. The kintsugi workshop reports several days to a week for comparable lacquer-and-powder cures in a furo, reflecting the different thickness and composition of the material.
04 Source · 3:54
No verified frame Open the source at the cited moment.

Trim excess cloth and sand the surface level

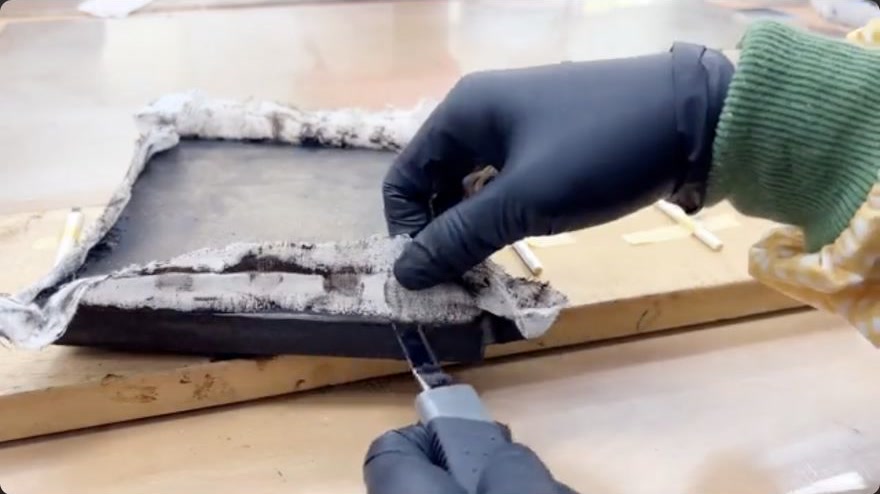
After the cure, trim any overhanging cloth and cured adhesive with a sharp knife, cutting close to the vessel's edge. Then take two sheets of sandpaper — a coarser grade first, then a finer one — and sand the surface lightly and evenly. Hold the paper flat and use short, controlled strokes; the aim is to remove the raised cloth texture and any proud adhesive, not to cut through the cloth into the wood. Work the edges and corners with particular care, as these areas tend to retain more material. The surface should end up smooth and even, with the cloth fully embedded and invisible beneath a thin skin of cured adhesive.

When it is rightA smooth, even surface with no protruding cloth threads, no rough edges, and no visible adhesive ridges. The cloth is present but flush with the surface.

When it goes wrongOver-sanding cuts through the cloth and exposes bare wood, which will absorb the next coat unevenly and may delaminate. Under-sanding leaves a rough, textured surface that the ground paste will not level. In either case, sand back to the correct level and re-check before proceeding.

05 Source · 4:36
No verified frame Open the source at the cited moment.

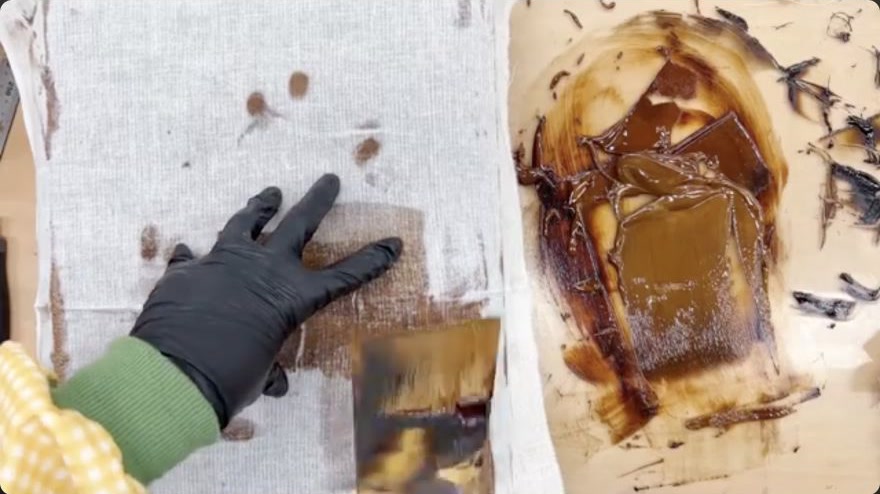
Mix the ground paste to a workable consistency

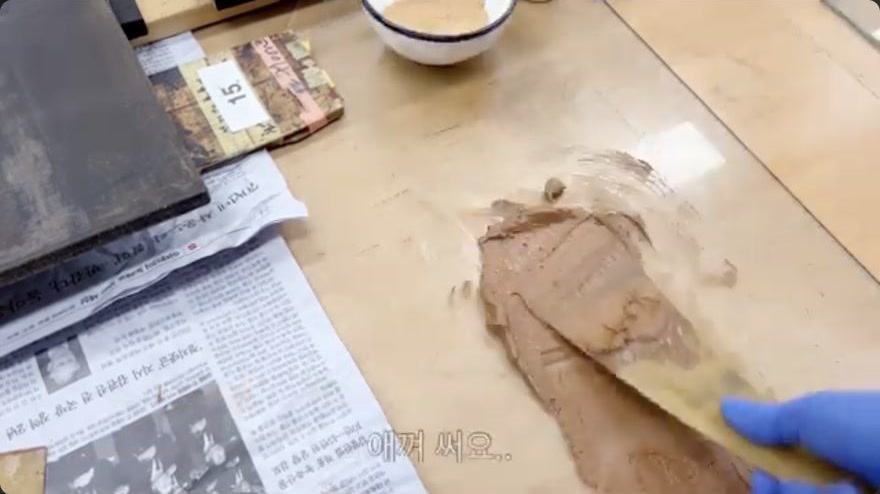
On a palette, combine the chosen aggregate — fine clay (jinoko or tonoko in Japanese practice; hofun or fine yellow clay in Korean practice; fine ceramic powder in kintsugi repair) — with ki-urushi and stir vigorously until the mixture is uniform and free of lumps. The target consistency is a semi-thick paste that holds its shape when lifted on the hera but can still be spread and scraped smoothly. If the mix is too liquid, it will run and fail to build volume; add more powder. If it is too dry, it will crack on the surface and resist scraping; add a small amount of lacquer and re-stir. Prepare only a small working batch, as the paste begins to stiffen within minutes and is difficult to re-hydrate once it starts to set.

When it is rightA uniform, semi-thick paste that holds a ridge when scraped with the hera but spreads into a thin, even film when pressed. No dry lumps, no free liquid pooling at the edges.

When it goes wrongA mix that is too liquid will not fill gaps between cloth threads and will sag on vertical surfaces. A mix that is too dry will crack as it cures and cannot be scraped smooth. In both cases, discard the batch and re-mix from scratch rather than trying to correct a partially set paste.

Workshops differ
  • Korean najeonchilgi uses tohwachil (fine yellow clay + lacquer) for the ground, and in practice sessions a sabi mix of hofun (oyster-shell powder) + ajiao (animal glue) is used for skill-building. The kintsugi workshop uses fine ceramic powder + ki-urushi, adjusting the ratio by eye until the paste is 'semi-thick and delicate.'
06 Source · 4:36
No verified frame Open the source at the cited moment.

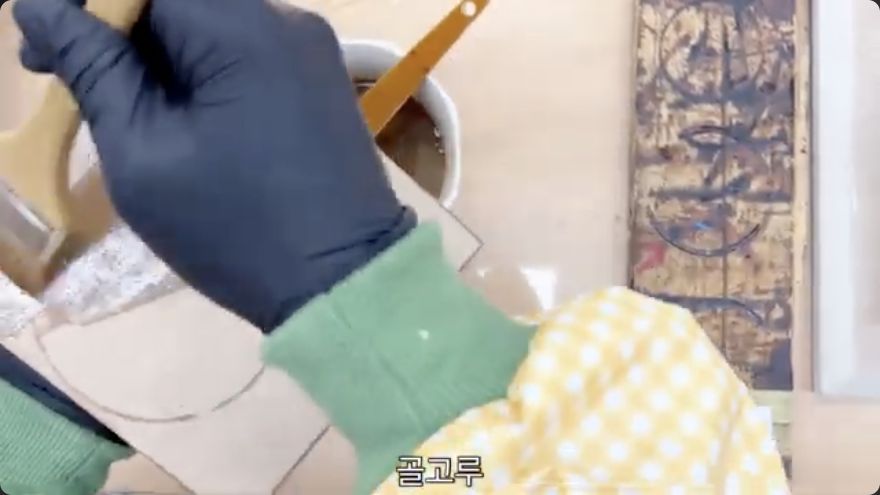
Apply the ground coat and scrape it into the surface

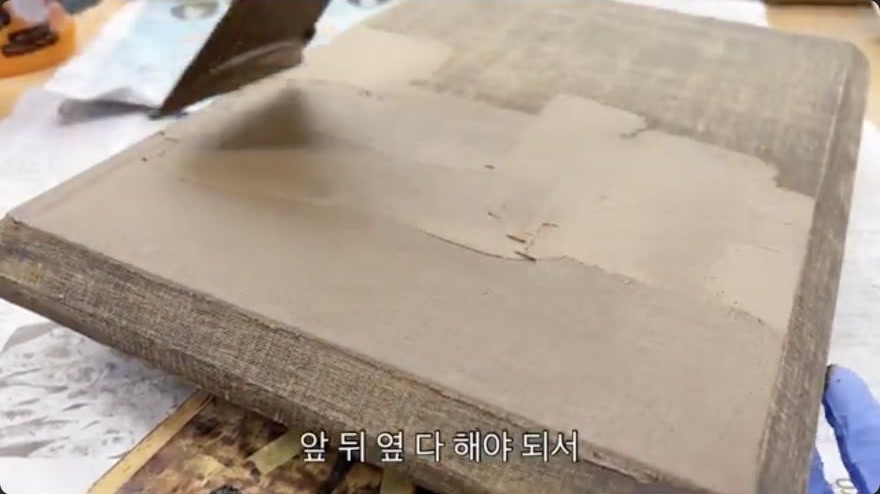
Load the ground paste onto the hera and spread it across the vessel's surface in a single, continuous pass, working from one edge to the other. The critical action is not spreading but pressing: hold the hera at a low angle and scrape the paste firmly into the surface, forcing it into the gaps between cloth threads and into any small voids. The thickness is the single most important variable. If the coat is too thin, the cloth pattern will show through and the surface will remain uneven. If it is too thick, the paste will crack as it cures and the excess will be extremely difficult to sand off. The goal is an 'appropriate' thickness — enough to fill every gap and create a continuous skin, but no more. Work the corners and edges last, as these areas tend to accumulate excess material.

When it is rightA smooth, even ground layer that completely covers the cloth and fills all gaps between threads. The surface reads as a single, continuous plane with no visible cloth pattern, no thin spots, and no raised ridges.

When it goes wrongCracking from excessive thickness, or visible cloth from insufficient coverage. Cracks require sanding the affected area back to the cloth layer and re-applying a fresh coat. Thin spots require a full additional coat over the entire surface.

Workshops differ
  • The Korean workshop emphasises that the thickness must be 'appropriate' — a qualitative judgment made by feel and sight, not by measurement. The kintsugi workshop applies the paste by hand (fingers) for small chips and depressions, rubbing it into the base to ensure all voids are filled, and uses a tape backing on the interior for large missing areas to support the new material.
07 Source · 7:00
No verified frame Open the source at the cited moment.

Cure, sand, and repeat until the surface is uniform

Return the piece to the curing cabinet for the full cure period. Once the coat is hard, sand it lightly with the finer grade of sandpaper to remove any high spots, ridges, or minor cracks. Inspect the surface: if it is not yet smooth and even, mix a fresh batch of ground paste and apply another coat, repeating the cure-and-sand cycle. This is the iterative heart of shitaji: the number of coats is not fixed but is determined by the surface's readiness. Each successive coat should be thinner than the last, refining the surface rather than building bulk. The physical effort is significant, especially on larger vessels, and the repetition is the norm rather than the exception. Do not proceed to the sealing lacquer coat until the surface is uniformly smooth with no visible texture, cracks, or cloth pattern.

When it is rightA progressively smoother and more uniform ground layer with each coat. The final surface is flat, even, and free of cracks, ridges, or cloth pattern. It reads as a single, continuous, slightly matte plane ready to receive lacquer.

When it goes wrongPersistent roughness, cracks, or unevenness that resists sanding. This usually indicates a coat that was applied too thickly or a cure that was interrupted. The affected area must be sanded back to a sound surface and re-coated. In severe cases, the entire ground build must be stripped and restarted.

Workshops differ
  • The Korean workshop describes the process as 'iterative, often requiring multiple coats' with sanding between each, and notes the physical demand is 'significant, especially for larger vessels.' The kintsugi workshop reports a cure time of 'several days to a week' in the furo for comparable powder-lacquer fills.
08 Source · 3:49
No verified frame Open the source at the cited moment.

Seal the ground with the first coat of ki-urushi

Once the ground is fully cured, sanded, and confirmed smooth, apply the first coat of pure ki-urushi. This coat seals the porous ground and creates a stable, non-absorbent base for the subsequent naka-nuri and uwa-nuri. Apply a thin, even coat across the entire surface — faces, edges, and corners — using the hera or a hake (lacquer brush), working in one direction to avoid lap marks. The coat should be thin enough to flow level under its own weight but thick enough to cover the ground completely without showing the texture beneath. Place the piece in the curing cabinet for one full day. This step marks the transition from ground-building to lacquer-coating; the difficulty and precision required increase from here forward.

When it is rightA thin, even coat of lacquer covers the entire surface without drips, missed spots, or visible ground texture. The surface has a slight sheen but is not yet glossy. After curing, the coat is hard and stable.

When it goes wrongUneven application or missed spots create an inconsistent base that will show through the final finish. Adhesion issues in the ground layer will manifest as soft or tacky patches after curing. In either case, sand the affected area, re-apply the coat, and re-cure.

Workshops differ
  • The Korean workshop describes this as the maker's first time applying lacquer and marks it as the point where 'the difficulty increases from this point forward.' The Japanese beginner's course uses a cotton-wool ball or cloth to rub in the lacquer (suri-urushi) rather than brushing it on, achieving a more intimate bond with the surface.
09 Source · 5:40
No verified frame Open the source at the cited moment.

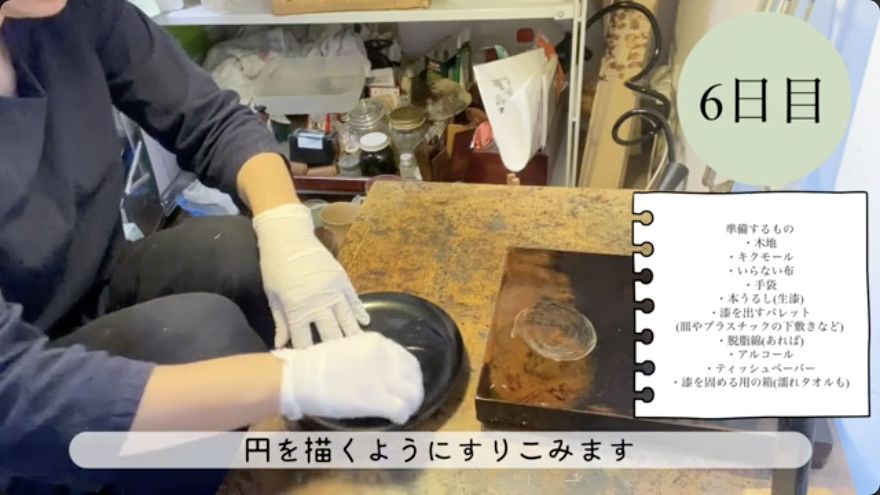
Polish and rub in the final ground coat

After the sealing coat has cured, apply kikumo (polishing compound) to a clean cloth and polish the surface in firm, circular motions. Continue until all dullness and abrasion marks from the sanding are removed and a clear gloss emerges. Once the gloss is pronounced and the marks are gone, stop polishing. Wipe off the residual oil from the compound with alcohol. Place a small amount of ki-urushi on a palette, roll a scrap of cloth or a ball of cotton wool, and dip it in the lacquer. Working in circular motions, rub the lacquer into the polished surface, covering the entire area. After the full surface has been treated, remove the surplus lacquer with a clean scrap of cloth. Allow the piece to harden for one day in a high-humidity location. This suri-urushi (rubbed-in lacquer) coat locks in the ground and provides the final sealed base before the decorative coats begin.

When it is rightA pronounced, even gloss across the entire surface with no remaining abrasion marks. The lacquer is worked into the surface rather than sitting on top, and the surplus has been cleanly removed. After curing, the surface is hard, smooth, and ready for naka-nuri or decorative work.

When it goes wrongResidual polishing compound not fully removed will interfere with the lacquer's adhesion and create a hazy, uneven finish. Incomplete coverage leaves patches of unsealed ground that will absorb subsequent coats unevenly. Recovery requires stripping the affected area with alcohol, re-polishing, and re-applying the lacquer.

Workshops differ
  • The Japanese beginner's course demonstrates this as a two-part action: first polishing with kikumo on a cloth, then rubbing in ki-urushi with a cotton-wool ball or cloth scrap. The Korean workshop does not show this specific step in the supplied footage, implying it may be handled in a later stage of the najeonchilgi sequence.

After this stage

After the final ground coat has cured and been polished, the piece is in a sealed, stable state ready for the naka-nuri (middle coats) or for decorative work such as maki-e, raden, or chinkin. The ground will not change further unless subjected to moisture, heat, or mechanical damage. Store the piece in a stable, moderate-humidity environment away from direct sunlight. If the next stage is not imminent, the sealed ground can be stored for weeks without degradation, but the surface should be kept clean and free of dust and fingerprints.

Terminology

下地shitaji
The ground layers beneath the decorative and final lacquer coats
木地kiji
The bare wooden substrate before any lacquer is applied
布着せnunokise
Cloth reinforcement over edges and faces, bonded with adhesive
sabi
A putty ground of fine clay (tonoko) and lacquer, used to build and level the surface
地の粉jinoko
Fired-clay powder used as the aggregate in the ground layers
砥の粉tonoko
Fine polishing-clay powder, the aggregate in sabi putty
生漆ki-urushi
Raw unrefined lacquer, the base binder in all ground and coat mixtures
糊漆nori-urushi
Lacquer mixed with rice-paste adhesive, used for cloth bonding
刷毛hake
Lacquer brush, used for applying coats of lacquer
hera
Spatula, the primary tool for spreading and pressing cloth and ground paste
研ぎtogi
Flattening by abrasion between coats
風呂furo
The humidity-controlled curing cabinet
中塗naka-nuri
The middle coats applied after the ground is sealed
摺り漆suri-urushi
Lacquer rubbed into the surface with a cloth or cotton ball rather than brushed on
옻칠ottchil
Korean natural-lacquer work
나전칠기najeonchilgi
Korean mother-of-pearl lacquerware
토분tobun
Clay powder used in the Korean ground (equivalent to jinoko)
자개jagae
The mother-of-pearl shell material used in Korean inlay
Full glossary →

Left open

What the sources do not settle.

These are limits of the source material rather than steps omitted. No cited workshop resolves them, so the method above stops where the evidence does instead of filling the gap with something plausible.

  • The exact number of ground coats required varies with substrate, vessel size, and the aggregate used. The Korean workshop describes the process as 'iterative' without specifying a fixed count; a practitioner following this procedure must judge readiness by surface feel and sight rather than by a pre
  • The Korean sources use hofun (oyster-shell powder) and ajiao (animal glue) in some ground mixes, while the Japanese tradition uses jinoko or tonoko with ki-urushi. The sources do not provide a direct comparison of the two systems' performance, adhesion, or sandability, so a practitioner working in o
  • The 8vuoStyTm1I source (stainless-steel ice-cube thermal test) demonstrates lacquer adhesion on a non-porous substrate and is tangentially relevant to ground-building on unusual materials, but it does not address the cloth-and-ground sequence described here and is not incorporated into the procedure
  • The precise humidity and temperature set-points for the curing cabinet are not stated in any source; the Korean workshop only says the cabinet must be 'comfortable' (properly conditioned). A practitioner without an existing cabinet will need to consult a local workshop or manufacturer for the correc