A furo (also called a muro) is a humidity- and temperature-controlled cabinet in which freshly applied urushi is allowed to cure through its enzymatic polymerisation. It sits between the application of a lacquer coat and the next working stage: every coat—ground, middle, or final—must pass through the furo before it can be sanded, overpainted, or polished. The chamber must hold stable moisture and warmth while remaining breathable, because urushi is an organic resin that requires oxygen to cure; sealing it airtight will stall the reaction. Building a functional furo is a one-time task, but the humidity source inside must be checked and replenished regularly throughout a curing cycle.
Prerequisites 4 checks before starting
A finished or in-progress lacquered piece ready to cure (or an empty chamber being prepared for future use)
Access to a room or corner where the cabinet can sit undisturbed for the duration of the cure
A thermometer and hygrometer (or a combined unit) capable of reading to at least 1 °C and 5 % RH
Basic woodworking tools if building from raw boards (saw, drill, screws or nails)
This stage mostly precedes lacquer application, but the workpiece may carry cured or partly cured urushi. Read Safety First before starting.
Raw urushi (ki-urushi) is a potent skin sensitiser. Contact can cause a delayed allergic reaction (urushiol dermatitis) that appears 24–72 hours after exposure and can be severe. When loading or unloading the furo, wear nitrile or latex gloves and avoid touching any wet or tacky lacquer surface with bare skin.
The furo is not a sealed chemical cabinet; it must remain breathable. Do not confuse it with a fume-extraction enclosure. However, do not place it in a sleeping area or a small unventilated room, as the mild organic vapour from curing urushi can be irritating to sensitive individuals over long exposure.
If you use a silver-ion water product for humidity (as one maker does), treat it as a personal practice rather than a verified antimicrobial requirement; standard clean water is sufficient for humidity control.
Tools and materials 4 tools · 7 materials
Tools
Saw and drill. For cutting wood inserts and shelf boards to fit the container interior
Screws or nails. To fix inserts and shelf supports; avoid metal fasteners that may rust and stain
Gardening atomiser / spray bottle. For misting a wet cloth or the chamber interior to raise humidity quickly (one maker uses a silver-ion water product from a cigar shop)
Hera (spatula) or flat stick. For propping and adjusting pieces inside the chamber
Materials
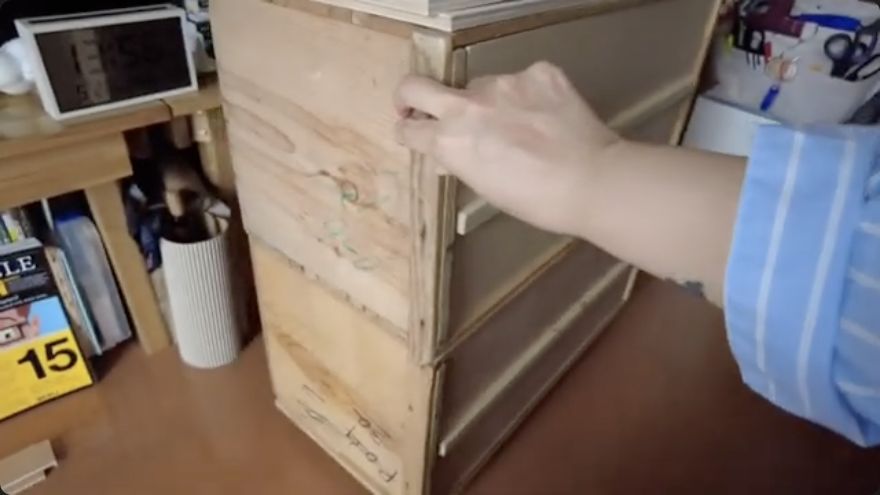
Container body. A Japanese-style apple box (wooden, front-opening) or a solid-wood cabinet such as an IKEA unit; must be front-loading for visibility and access
Wood inserts / lining boards. Cut to fit the four interior walls and the back; provide a finished surface and mounting points for shelves
Shelf boards and support sticks. Removable shelves; sticks double as loading handles and as props for small pieces
Humidity source. A shallow bowl of water, a wet cloth hung on a stick, or a humidor gel (cigar-shop product) in a sealed container
Propping materials. Wood sticks, foam pads, and toothpicks for elevating small or thin pieces so no wet lacquer surface contacts the shelf
Thermometer / hygrometer. One unit minimum; a second is useful if running a two-cabinet workflow
Castors (optional). Fitted to the base for mobility and stacking
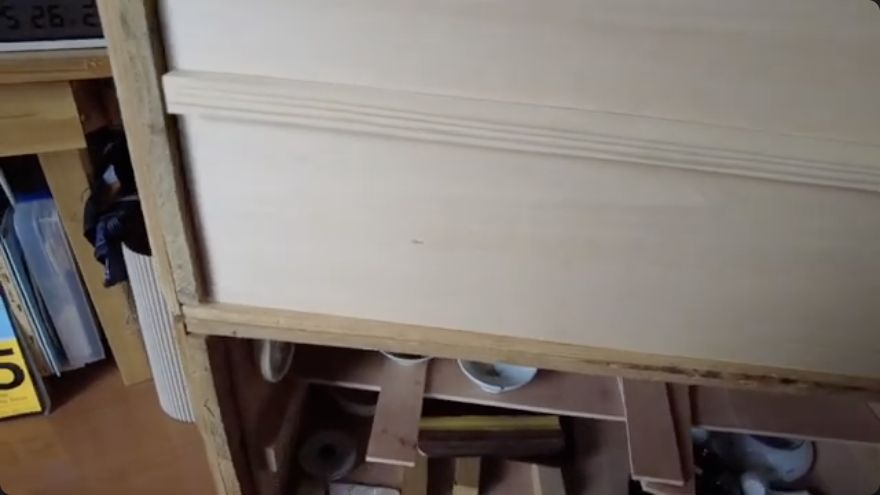
Choose a front-opening wooden box or cabinet that is large enough to hold your typical work pieces with clearance above and below. A Japanese apple box is a common home-scale choice; a solid-wood cabinet (one maker uses a white IKEA unit) works equally well. Attach castors to the base if you want to move or stack the unit. The critical design rule is that the chamber must NOT be airtight: urushi cures through an enzymatic reaction that consumes oxygen, so the interior must exchange air with the room. A light seal on the door to keep dust out is acceptable, but a gasket-sealed, refrigerator-like enclosure will prevent curing. Orient the opening toward the front so you can see and reach pieces without lifting a heavy lid.
When it is rightA stable, front-loading box that you can open fully, see into, and load without straining; the door closes enough to keep dust out but does not form an airtight seal.
When it goes wrongUsing a top-loading plastic bin or a gasket-sealed container. Recovery: switch to a front-opening wooden box, or remove the gasket and leave a 2–3 mm gap around the door to allow air exchange.
Workshop differences 2
One maker builds from Japanese apple boxes with castors; another uses a white IKEA cabinet with sealed doors and wooden brush racks inside.
The IKEA-cabinet maker states the furo should use mold-resistant wood and describes a future fully-wooden version, but his current unit is partly composite.
Cut boards to fit the four interior walls and the back of the container. Fix them with screws or nails so they sit flush and do not rattle. The lining serves two purposes: it gives you a clean, finished surface that will not shed particles onto wet lacquer, and it provides a solid face to which you can attach shelf supports, hooks, or a rail for hanging a wet cloth. If you are using a cabinet that already has a smooth interior, this step can be skipped, but you still need a way to mount removable shelves. Avoid lining with painted or varnished boards that might off-gas solvents into the curing space; plain, well-seasoned hardwood is preferred.
When it is rightA lined interior with flat, stable surfaces on all four sides and the back; no gaps wider than a finger between the lining and the outer wall.
When it goes wrongLeaving the box unlined or using thin, warped boards that flex under the weight of shelves. Recovery: add a second layer of backing or replace with stiffer stock; re-check that shelves sit level.
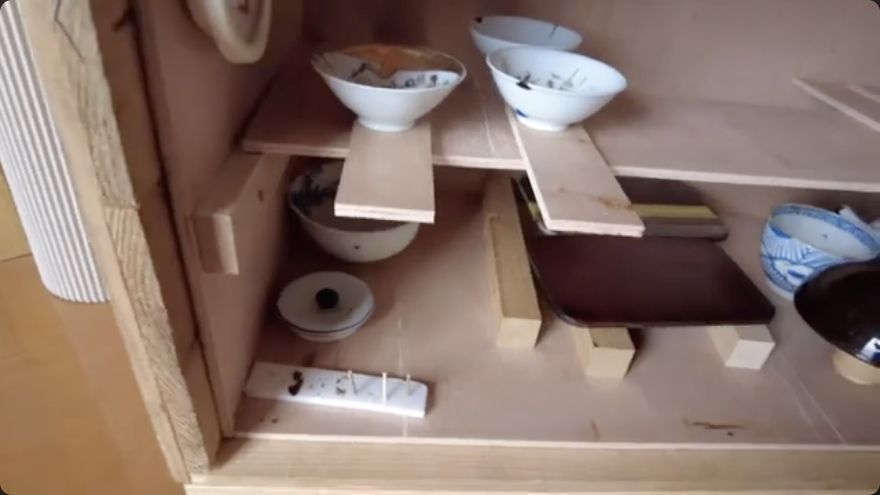
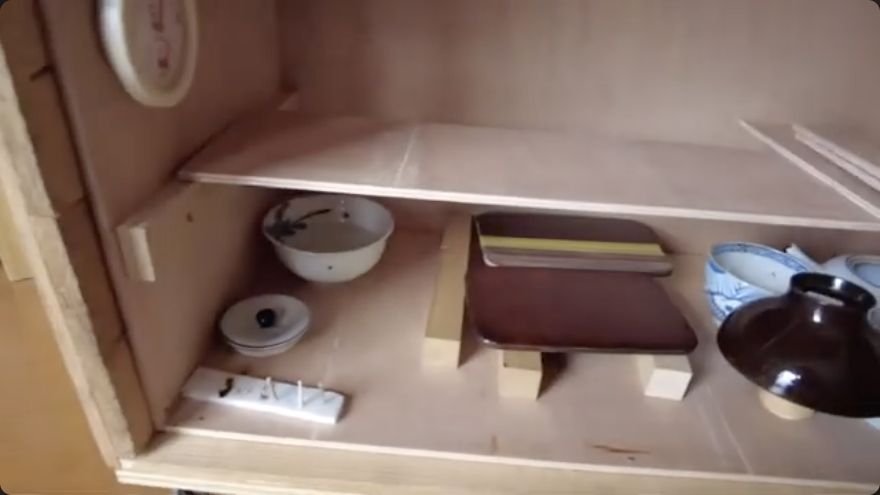
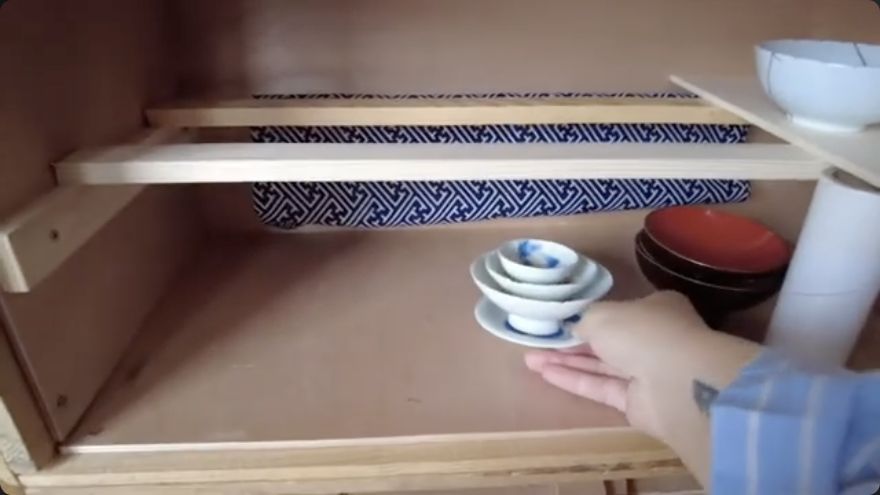
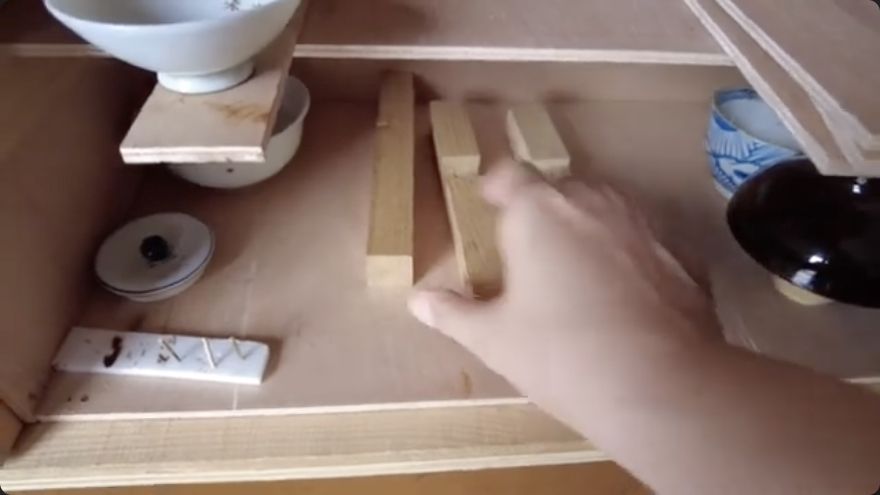
Cut shelf boards to the interior width and mount them on short support sticks or brackets that can be lifted out. The shelves must be removable so you can clear the full height of the chamber for tall pieces such as vases or large bowls. Design the supports so that a single stick can carry multiple small items (sake cups, small dishes) and be slid in and out as a unit, which speeds up loading and unloading. Leave at least enough vertical clearance between shelves for the tallest piece you expect to cure plus a few centimetres of air space so humidity can circulate around the work. Check that each shelf is level; a tilted shelf will cause lacquer to run to one edge during the cure.
When it is rightShelves that lift out cleanly, sit level, and leave adjustable vertical gaps; small pieces can be grouped on a single stick for one-hand loading.
When it goes wrongFixed shelving that blocks the curing of a tall vase, or shelves that flex under load and tilt the piece. Recovery: add a cross-brace under the shelf, or remove the shelf entirely and prop the tall piece directly on sticks at the base.
Place a shallow bowl of clean water on a shelf or the base of the chamber. The evaporating water will raise and maintain relative humidity. If shelf space is limited, hang a damp cloth or towel on a stick at the back of the chamber; this is more space-efficient and can be re-wetted by removing it, spraying it with water from a garden atomiser, and re-hanging it. An alternative used by one maker is a humidor gel (sold in cigar shops): a small dry quantity swells into a viscous gel that releases moisture slowly over days; place it in a small open container on a shelf. Whichever method you choose, the goal is to keep the chamber in the target humidity band (see next step) without the water source drying out between checks. If you use the spray method, a silver-ion water product is one maker's choice, reportedly to inhibit mould and microbes, though this is his personal practice rather than a verified requirement.
When it is rightA steady, visible source of moisture (water surface, damp cloth, or gel) that keeps the hygrometer reading in range for the full curing period without daily intervention.
When it goes wrongThe water bowl evaporating overnight in a warm room, dropping humidity below the cure threshold. Recovery: use a larger bowl, add a second source, or switch to the slower-releasing humidor gel; re-check the hygrometer every 12 hours.
Workshop differences 2
Water bowl as primary source; wet cloth on a stick as a space-saving alternative.
Humidor gel in a white container as the primary source; silver-ion water sprayed with a gardening atomiser for temporary boosts to ~85 % RH.
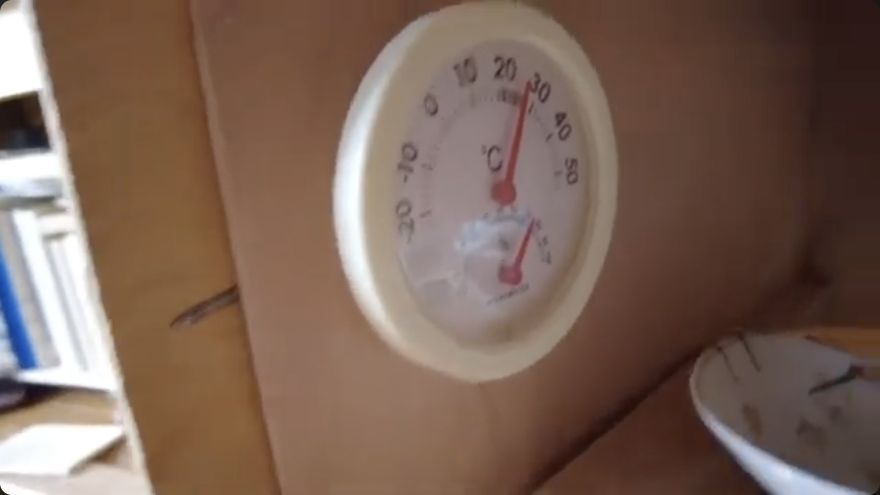
Place a thermometer and hygrometer inside the chamber, away from the direct water source so the reading reflects the air, not a wet surface. The target band reported by the makers is 20–27 °C (one source) or 23–25 °C (the other), with relative humidity in the 70–90 % range; one maker reports a stable ~70 %, the other a normal ~75 % with temporary peaks to ~85 %. In practice, aim for roughly 23–25 °C and 70–80 % RH as a comfortable working window. The room in which the furo sits will set the temperature; if the room is too cold, the lacquer will cure very slowly or not at all, and if it is too hot the cure will be rushed and the surface may remain tacky. Check the readings at least twice a day during a curing cycle. Adjust humidity by adding or removing water, re-wetting the cloth, or adding/removing gel. Do not open the chamber door frequently, as each opening drops humidity and introduces dust.
When it is rightStable readings within the 20–27 °C / 70–90 % RH band for the duration of the cure, with no more than a 5 % RH swing between checks.
When it goes wrongHumidity dropping below 60 %, which causes the lacquer to skin over unevenly or fail to polymerise fully. Recovery: add a second water source, re-wet the cloth, or move the furo to a more humid room (a bathroom is one maker's location); re-check within an hour.
Workshop differences 2
20–27 °C, ~70 % RH stated as the target.
23–25 °C, 70–90 % RH stated; normal reading ~75 %, temporary ~85 % after spraying.
Load each freshly lacquered piece onto a shelf or stick so that no wet lacquer surface touches the shelf, another piece, or any foreign material. For flat items with a lacquered rim, prop the rim on short wood sticks or foam pads so the bottom edge is clear. For small items such as sake cups or jewellery, group several on a single stick with foam spacers and toothpicks to prevent them from touching each other. The rule is absolute: any surface that has received urushi in the last few hours must not make contact with anything except air. If a piece is too tall for the shelf gap, remove the shelf and prop the piece directly on sticks at the base of the chamber. Check each piece from the side to confirm clearance before closing the door.
When it is rightEvery wet-lacquer surface is fully exposed to the humid air; no piece is resting on or touching another surface or object.
When it goes wrongA piece's lacquered edge sticks to the shelf during the cure, leaving a ragged, un-cured line that must be sanded out. Recovery: if caught early (within the first few hours), lift the piece carefully and re-prop; if the lacquer has already set in a stuck state, the affected area will need to be sanded and re-coated.
If your volume of work exceeds what one chamber can hold, build or acquire a second identical unit. Designate one as the active curing furo (with humidity source and thermometer) and the other as a dry storage or staging cabinet for pieces that have already cured or are waiting for the next operation. When the active furo fills, you can convert the storage unit into a second curing chamber by adding a water bowl and a thermometer, effectively doubling your curing capacity. This two-tier approach prevents the common problem of having to pull a piece out of the furo before it is fully cured simply because there is no space for a new one.
When it is rightA clear workflow: one unit cures, the other stores; both can cure simultaneously if needed, without pieces being removed prematurely.
When it goes wrongRunning a single unit at capacity and being forced to open it to load a new piece, dropping humidity and introducing dust onto still-curing work. Recovery: add a second unit, or stagger your application schedule so that not all pieces enter the furo at the same time.
Once a piece has completed its cure in the furo (the duration depends on coat thickness, humidity, and temperature, and is not specified in the sources), remove it and allow it to acclimatise to room conditions before handling. The furo itself should be checked after every use: wipe the interior, replace or re-wet the humidity source, and inspect the wood lining for any mould or musty smell. If the chamber has been unused for more than a week, dry it out completely before the next use to prevent mould growth on the wood. The humidity source (water, cloth, or gel) will need replenishing on every new curing cycle.
Terminology 5 terms
風呂furo
the humidity-controlled curing cabinet for urushi
室muro
alternate term for the curing chamber, used in the kintsugi context
漆urushi
natural lacquer sap; the organic resin that cures enzymatically in the furo
髹漆kyūshitsu
the discipline of lacquer coating, of which furo-curing is a central stage
金継ぎkintsugi
lacquer repair finished in gold; a common home-scale use for a furo
Exact cure time for a given coat thickness at a given humidity and temperature is not stated in either source; the Tamenuri Studio narration on cure time is described as too garbled for confident publication.
The Tamenuri Studio maker reports his bathroom is 'slightly below' his stated 23–25 °C range but gives no exact value; the actual operating temperature of his furo is therefore unconfirmed.
Whether the IKEA cabinet's sealed doors (as described by the Tamenuri Studio maker) are compatible with the oxygen-exchange requirement stated by the apple-box maker is unresolved; the two sources appear to contradict each other on airtightness.
The long-term durability of humidor gel as a humidity source (how many days before it dries out and must be replaced) is not quantified in either source.
Sources and method notes 2 videos · 2 channels
2 of these 2 videos are cited by a step.
Goenne Japan Kintsugi↗ How to make your own Muro (A curing box for urushi lacquer and kintsugi craft).