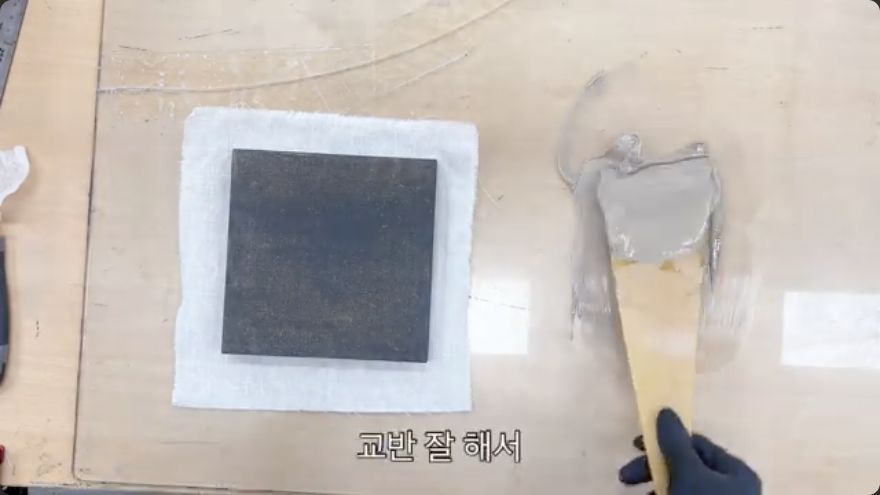
How to make Korean lacquer - Najeon Chilgi & Ottchil #2
This video demonstrates the intermediate stages of Korean najeonchilgi (mother-of-pearl lacquerware) production, specifically the cloth-wrapping and ground-building phases. It is useful for practitioners learning to apply nunokise (cloth reinforcement) and tohwachil (clay-lacquer ground) on wooden substrates, highlighting the physical demands and iterative nature of the process.
A walkthrough written from 옻칠나전공방 휘호 / HwihoCraft’s video ↗.
The recording is the authoritative demonstration; this page is a working guide to it.
Raw urushi (lacquer) causes serious delayed skin reactions. The video shows direct handling of lacquer and clay mixtures without visible protective gloves, which is a significant health risk.
Read Safety First before working with raw urushi.
Tools shown
knife— Used to cut cloth
hera— Spatula used to scrape and press materials firmly
chiljang— Curing cabinet maintained at high temperature and humidity
Materials
hochil— Mixture of glutinous rice paste and lacquer used as cloth adhesive
tohwachil— Mixture of fine yellow clay and lacquer used for ground filling
hemp cloth— Used for wrapping the wooden core
sandpaper— Two sheets used for light sanding between coats
Conditions
temperature — High (in chiljang)
humidity — High (in chiljang)
cure time — Overnight or until next day
notes — The chiljang must be properly conditioned to ensure correct curing.
The method
Section by section.
Each heading links back to the moment in the source video where it begins.
One video is one workshop's account, not a complete method. 1 of 6 steps here are not fully settled by
this source — it leaves out what a correct result looks like, or how the step
fails. Those are marked in place below.
Mix glutinous rice paste with lacquer to create hochil. The consistency should be workable enough to apply to the vessel. The maker notes that both components are expensive, so the mixture should be used sparingly. This adhesive is specifically for attaching the hemp cloth to the wooden core.
When it is rightA uniform, sticky mixture ready for application.
Not settled by this video The source does not show what going wrong looks like here.
Cut hemp cloth to size using a knife. Apply the hochil mixture to the vessel's sides and corners. Attach the cloth and press it down firmly with a hera (spatula). The maker emphasizes scraping firmly to ensure adhesion. Corners are particularly difficult and require careful attention to avoid wrinkles. If the cloth wrinkles, it must be corrected immediately.
When it is rightCloth lies flat and smooth against the wood, with no visible wrinkles or gaps.
When it goes wrongWrinkled cloth or poor adhesion at corners, which requires re-scraping or re-application.
Place the cloth-wrapped vessel in the chiljang (curing cabinet). The cabinet is maintained at high temperature and high humidity. The maker notes that the chiljang must be 'comfortable' (properly conditioned) for the lacquer to cure correctly. The vessel is left to dry for a period, typically overnight or until the next day.
When it is rightThe lacquer and cloth are fully cured and ready for the next step.
When it goes wrongImproper curing conditions can lead to cracking or poor adhesion.
After curing, trim any remaining rough bits of cloth or lacquer using a knife or fire (implied by 'fire play'). Then, use sandpaper for light sanding. The maker uses two sheets of sandpaper and emphasizes light sanding to avoid damaging the underlying layers. This step prepares the surface for the tohwachil ground.
When it is rightA smooth, even surface with no protruding cloth or rough edges.
When it goes wrongOver-sanding can damage the cloth or wood, while under-sanding leaves a rough surface that affects the next coat.
Mix fine yellow clay with lacquer to create tohwachil. Apply this mixture to the vessel, focusing on filling the gaps between cloth threads. Use a hera to scrape the mixture firmly into the surface. The maker notes that the thickness is critical: if too thin, the cloth shows through; if too thick, it cracks. The goal is an 'appropriate' thickness that fills the gaps without excess.
When it is rightA smooth, even ground layer that completely covers the cloth and fills all gaps.
When it goes wrongCracking due to excessive thickness or visible cloth due to insufficient thickness. Cracks require sanding and re-application.
Apply a second coat of tohwachil after the first has cured. The maker notes that the process is iterative, often requiring multiple coats to achieve a smooth, even surface. Each coat must be sanded before the next is applied. The physical effort is significant, especially for larger vessels, and the process can be repetitive and demanding.
When it is rightA progressively smoother and more uniform ground layer with each coat.
When it goes wrongPersistent roughness or cracks that require additional coats and sanding.
Terminology in this video
나전칠기najeonchilgi
Mother-of-pearl lacquerware
호칠hochil
Cloth-adhesive lacquer (rice paste and lacquer)
토화칠tohwachil
Clay-powder lacquer coating
칠장chiljang
Curing cabinet
헤라hera
Spatula
Left open
What this video does not settle.
The exact grit of the sandpaper used is not specified.
The specific ratio of clay to lacquer in tohwachil is not given.
The precise duration of curing in the chiljang is not stated, only 'next day'.