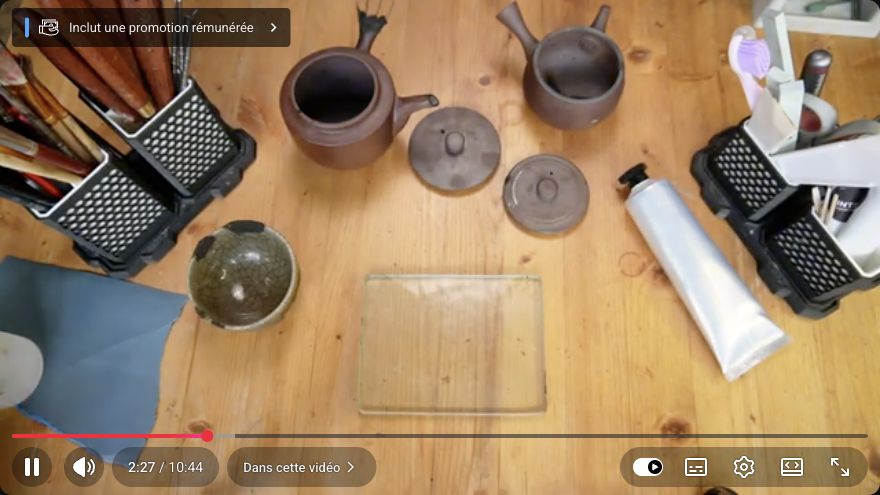
Кинцуги видео уроки. Чистка шва, снимаю маску, формирую носик
This video demonstrates the intermediate stages of kintsugi repair on ceramic vessels, specifically focusing on removing masking fluid from filled seams and shaping excess repair material. It is useful for practitioners learning to manage the transition from filling to finishing, including the decision to grind down spouts rather than build up chips.
A walkthrough written from Kintsugi by Dmitry Bykov’s video ↗.
The recording is the authoritative demonstration; this page is a working guide to it.
Raw urushi causes serious delayed skin reactions. Ensure proper ventilation and avoid skin contact when handling lacquer-based materials.
Read Safety First before working with raw urushi.
Tools shown
office knife— used for scraping off excess material and cutting masking fluid
rotary tool— mentioned as an alternative for faster material removal
diamond files— used for grinding down spouts to remove chips
Materials
masking fluid— watercolor-style masking liquid used to protect adjacent surfaces during filling
repair mixture— lacquer-based paste used for filling seams and building volume
sandpaper— 800 grit mentioned for initial shaping
sanding stone— rigid stone with grain size 1000 for polishing and leveling
Conditions
notes — The repair mixture must be fully dry before shaping. The vessel should be dry before applying black lacquer in the next step.
The method
Section by section.
Each heading links back to the moment in the source video where it begins.
Begin by removing the bulk of the dried repair mixture from the cup. Use 800-grit sandpaper or an office knife to scrape down the raised areas. If manual removal is too slow, a rotary tool can be employed. The goal is to bring the surface close to the original contour of the ceramic, leaving only a thin layer for final smoothing. Work carefully to avoid damaging the underlying glaze.
When it is rightThe repair area is flush with the surrounding ceramic, with no significant raised ridges remaining.
When it goes wrongOver-sanding can scratch the glaze or thin the repair layer too much, requiring re-filling.
On the teapot, use a knife to cut and peel away the masking fluid that was applied around the filled seam. The masking fluid should come off in one piece, revealing a clean, even line of repair material underneath. Check the sides for any residual dirt or masking fluid, which can be cleaned off without scratching the wall. Proceed to the inner part of the vessel, which is more difficult to access but follows the same method.
When it is rightThe seam is exposed with a neat, even line of repair material, and the surrounding glaze is free of masking residue.
When it goes wrongLeaving masking fluid behind can interfere with subsequent lacquer application, causing adhesion issues.
Instead of building up a chip on the spout, grind down the spout by a few millimeters using a sanding stone or diamond files. This removes the damaged area and exposes the underlying clay. The exposed clay will initially look different in color but will wear in and develop a patina over time, blending with the rest of the vessel. This method is more reliable than building up material on a thin spout.
When it is rightThe spout is slightly shorter but smooth and free of chips, with the exposed clay area blending in after use.
When it goes wrongGrinding too much can weaken the spout or alter its function, so remove only the minimum necessary.
Terminology in this video
金継ぎkintsugi
lacquer repair finished in gold
Left open
What this video does not settle.
The specific type of repair mixture used is not named, only described as a paste.
The exact duration of drying time for the mixture is not specified.