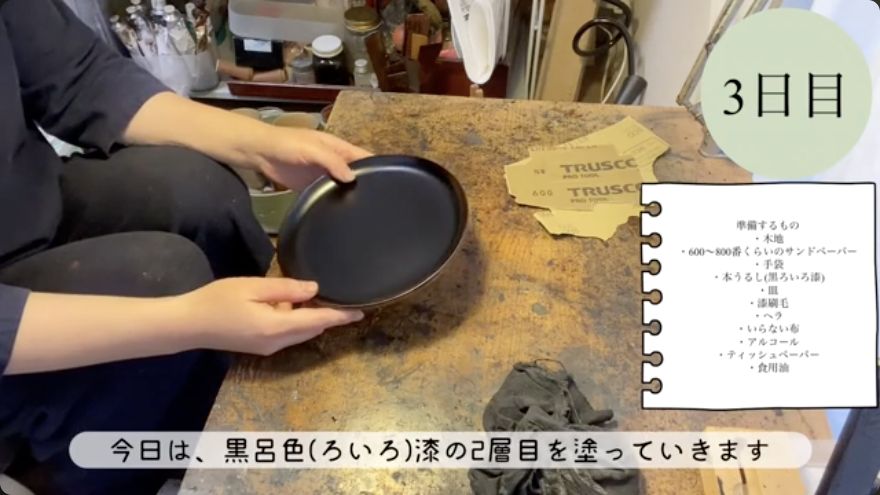
Day 3: Brush painting and mirror polishing "Second layer of Kuroro-iro lacquer" (lacquer painting...
This video demonstrates the application of a second coat of kuro-riro-urushi (polishing-grade black lacquer) on a prepared wooden substrate. It covers surface preparation with wet sanding, the specific technique for distributing lacquer with a hake (brush), and the critical post-application cleanup of tools using solvents and oil. It is useful for intermediate lacquer artists learning to achieve a smooth, mirror-polishable finish.
A walkthrough written from 松江藩御抱え塗師12代目 小島ゆり’s video ↗.
The recording is the authoritative demonstration; this page is a working guide to it.
Raw urushi causes serious delayed skin reactions. Do not remove gloves until all cleanup is finished. Use solvents like white gasoline in a well-ventilated area.
Read Safety First before working with raw urushi.
Tools shown
wooden square block— Wrapped with sandpaper for flat abrasion
hake— Lacquer brush, approx 3cm wide mentioned for thick type
hera— Spatula for scraping lacquer
wet towel and mesh— For creating humid curing environment
Materials
kuro-riro-urushi— Polishing-grade black lacquer
sandpaper— 600-800 grit
alcohol— For degreasing and cleaning
white gasoline/kerosene— Solvent for rough brush cleaning
cooking oil— For final brush washing
Conditions
humidity — 70-80%
notes — Humidity must be controlled to prevent wrinkling.
The method
Section by section.
Each heading links back to the moment in the source video where it begins.
Wrap 600-800 grit sandpaper around a wooden square block. Wet the sandpaper with water. Abrade the surface vertically to remove bumps, wiping off residue with a cloth after each pass. Rotate the work 90 degrees and abrade the perpendicular direction, including edges, to ensure flatness.
When it is rightSurface is flat and free of bumps.
When it goes wrongUneven sanding leaves bumps that will show in the final coat.
Wipe the surface with alcohol to remove oil. Wipe the hake with alcohol to remove oil from the bristles. Blow away loose dust from the kiji (substrate). Dip a scrap cloth in a small amount of lacquer and tap it against the surface to pick up remaining dust particles.
When it is rightSurface is clean, dry, and free of dust and oil.
When it goes wrongDust or oil trapped under the lacquer causes imperfections.
Dip the hake in kuro-riro-urushi. Distribute lacquer over the entire surface by connecting dots and spreading. Move the hake forward and back to remove large debris. Rotate 90 degrees and apply in the perpendicular direction. For edges, rotate and push the hake to spread lacquer without adding more, smoothing out drips.
When it is rightEven, continuous coat without drips or debris.
When it goes wrongDrips or uneven thickness require smoothing or recoating.
Place a wet towel in a container. Put a mesh or strainer on top. Place the lacquered piece on the mesh. Cover with a lid. Aim for 70-80% humidity. If the lacquer wrinkles like tofu skin, humidity is too high; make the towel drier to lower humidity.
When it is rightLacquer cures cleanly without wrinkling.
When it goes wrongWrinkling indicates excessive humidity; adjust towel dryness.
Wipe lacquer from plates and hera with alcohol. Scrape lacquer from the hake with the hera. Do not remove gloves yet. Roughly wash the hake with white gasoline or kerosene to remove bulk lacquer. Then wash the hake in cooking oil on a plate until the oil color lightens. Scrape oil from the hake with the hera. Wipe with tissue.
When it is rightBrush is clean and ready for storage.
When it goes wrongHardened lacquer in brush bristles ruins the tool.
Terminology in this video
黒呂色漆kuro-riro-urushi
Polishing-grade black lacquer
刷毛hake
Lacquer brush
箆hera
Spatula
木地kiji
Bare wooden substrate
Left open
What this video does not settle.
Exact duration of curing in the furo is not specified.