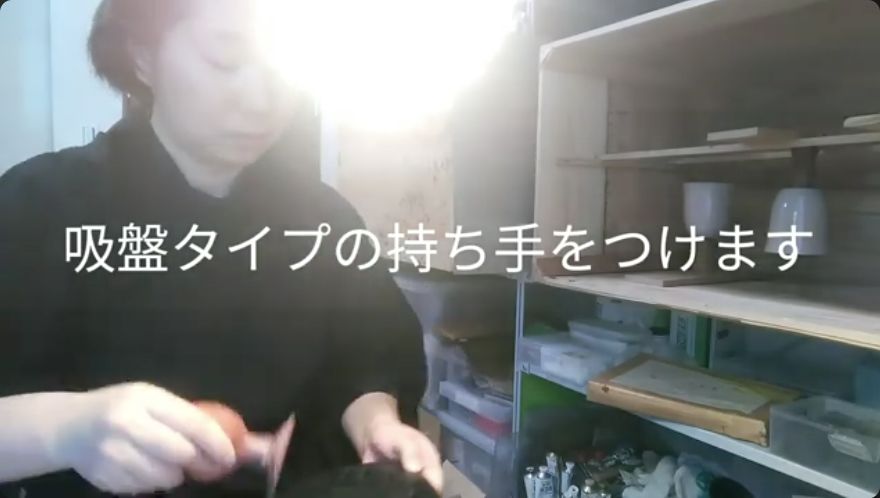
This video demonstrates the application of a fourth coat of white natural lacquer to a pre-polished plate. It is useful for practitioners learning the specific technique of wiping dust before coating and ensuring even coverage on the front face of a vessel.
A walkthrough written from 松江藩御抱え塗師12代目 小島ゆり’s video ↗.
The recording is the authoritative demonstration; this page is a working guide to it.
Raw urushi causes serious delayed skin reactions; ensure proper protection when handling.
Read Safety First before working with raw urushi.
Tools shown
hake— Brush used for wiping dust and applying lacquer
handle— Attached to the back of the plate for holding
Materials
white natural lacquer— Applied as the 4th layer; consistency not specified
Conditions
humidity — high
notes — Plate was polished two days prior to this session.
The method
Section by section.
Each heading links back to the moment in the source video where it begins.
One video is one workshop's account, not a complete method. 3 of 5 steps here are not fully settled by
this source — it leaves out what a correct result looks like, or how the step
fails. Those are marked in place below.
Attach a handle to the back of the plate to facilitate holding. The plate has been polished two days prior. Ensure the workpiece is stable and ready for coating.
When it is rightPlate is securely held and surface is prepared for the next coat.
Not settled by this video The source does not show what going wrong looks like here.
Use a brush specifically for wiping to remove dust from the surface of the plate. This step is critical because any remaining dust will cause the final surface to become rough. Perform this carefully before applying any new material.
When it is rightSurface is free of particulate matter.
When it goes wrongIf dust is not removed, the surface becomes rough.
Paint white natural lacquer onto the front side of the plate using a brush. This is the fourth layer of the lacquer painting process. Focus on the front side only for this session. It is important to paint the lacquer equally across the surface to ensure uniformity.
When it is rightEven, uniform coverage of white lacquer on the front face.
When it goes wrongUneven application leads to inconsistent drying or appearance.
Apply the lacquer to the edge of the plate. This ensures the entire front-facing surface, including the rim, is covered. The technique remains consistent with the body application, focusing on evenness.
When it is rightEdges are fully coated and blend with the body coat.
Not settled by this video The source does not show what going wrong looks like here.
Once painting is finished, keep the plate in a high-humidity environment to allow the lacquer to become solid. This curing process is essential for the lacquer to harden properly.
When it is rightLacquer hardens and solidifies.
Not settled by this video The source does not show what going wrong looks like here.
Terminology in this video
中塗naka-nuri
middle coats
Left open
What this video does not settle.
The specific viscosity or preparation of the white lacquer is not described.
The exact duration of the high-humidity curing period is not specified.